Sep 30, 2026Guides
How to Test Label Adhesion in Liquid Nitrogen – A Practical Guide for Biobanks and Labs
Labels that fail in liquid nitrogen cause sample loss and misidentification. Learn how to test adhesion at -196°C with a simple, repeatable laboratory procedure.
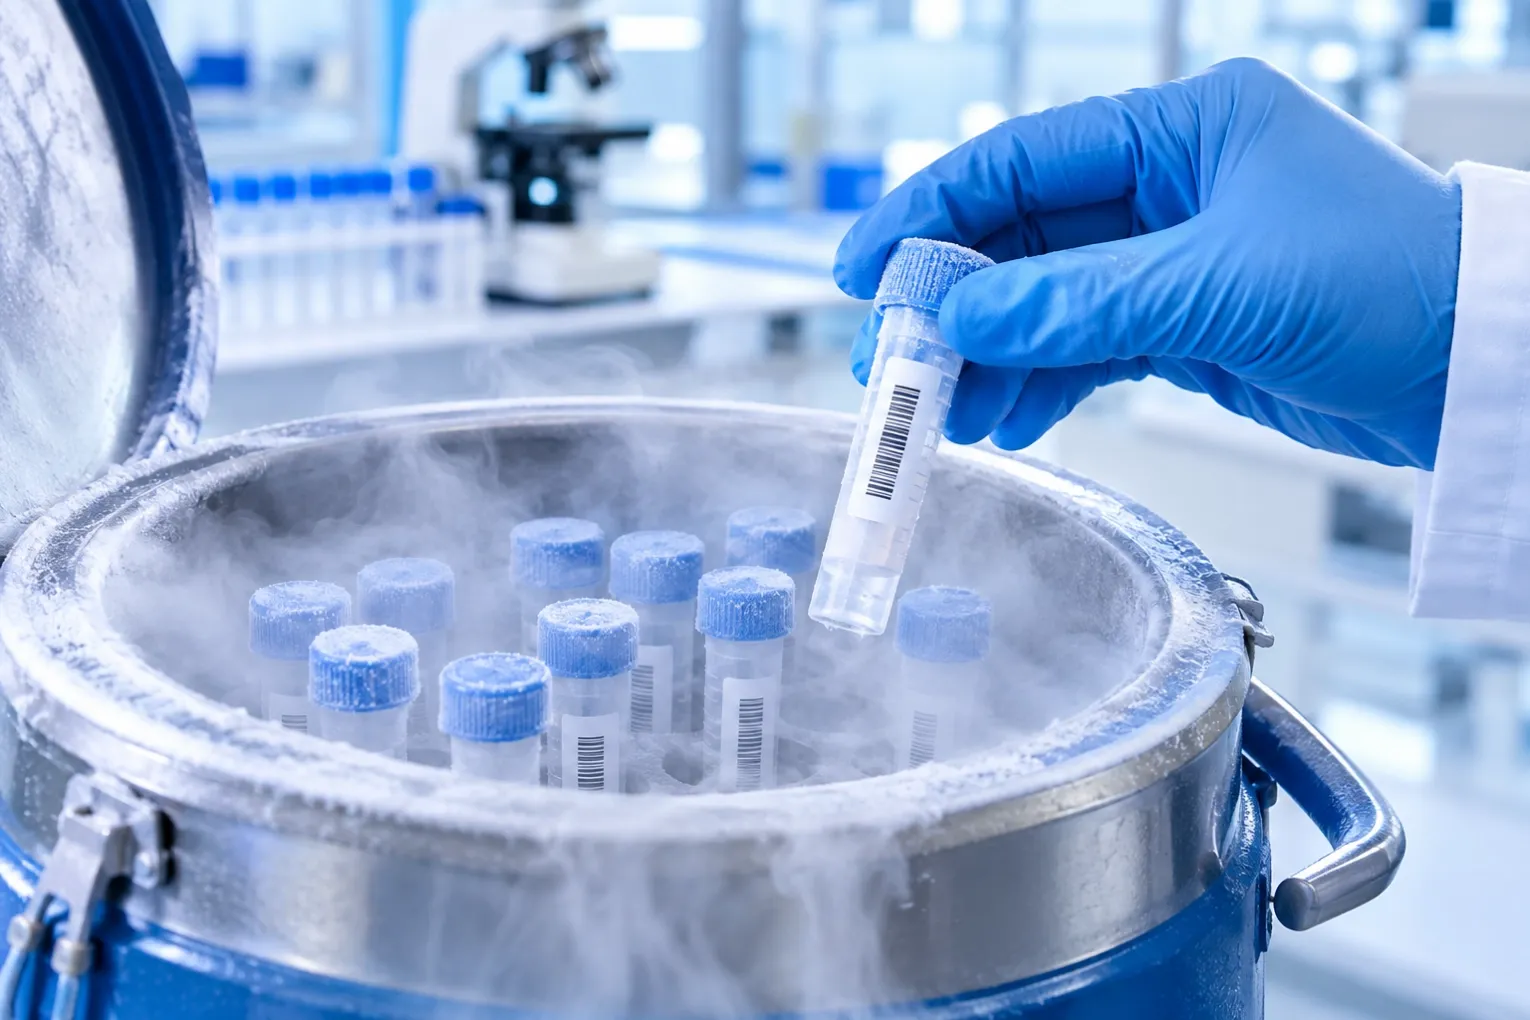
❄️ You have selected a cryogenic label for your biobank. The supplier claims it survives liquid nitrogen at -196°C. But how do you verify that claim with your own vials, your own storage conditions, and your own handling procedures?
This is not a theoretical question. Label failure in liquid nitrogen means lost samples, broken traceability, and potentially irreplaceable biological material that cannot be recovered.
Most suppliers provide test data from their own laboratories. But laboratory conditions rarely match real-world conditions exactly. The vial material, the surface texture, the application pressure, the freeze-thaw cycles – all of these variables affect adhesion.
In this guide, I will walk you through a practical, repeatable procedure for testing label adhesion in liquid nitrogen. By the end, you will know how to validate any cryogenic label before committing to full-scale use.
1. Why Adhesion Testing Matters in Liquid Nitrogen 🧪
Adhesion is the single most common cause of cryogenic label failure. In liquid nitrogen, three things happen simultaneously:
Factor | Effect on Adhesion |
|---|---|
Extreme cold (-196°C) | Adhesive becomes rigid and loses tack |
Thermal contraction | Label, adhesive, and vial contract at different rates |
Rapid temperature change | Condensation and frost form at the bond interface |
A label that adheres perfectly at room temperature may fail completely after one liquid nitrogen immersion. The only way to know is to test.
What Makes Liquid Nitrogen Testing Different
Standard adhesion tests (such as peel tests at room temperature) do not predict cryogenic performance. The adhesive chemistry behaves completely differently at -196°C. You need a test that exposes the label to actual liquid nitrogen – or at minimum, to the vapour phase.
For background on why labels fail in cold, see our guide to glass transition temperature and label failure.
2. What You Will Need for the Test 🛠️
The test requires minimal equipment. Most laboratories already have everything needed.
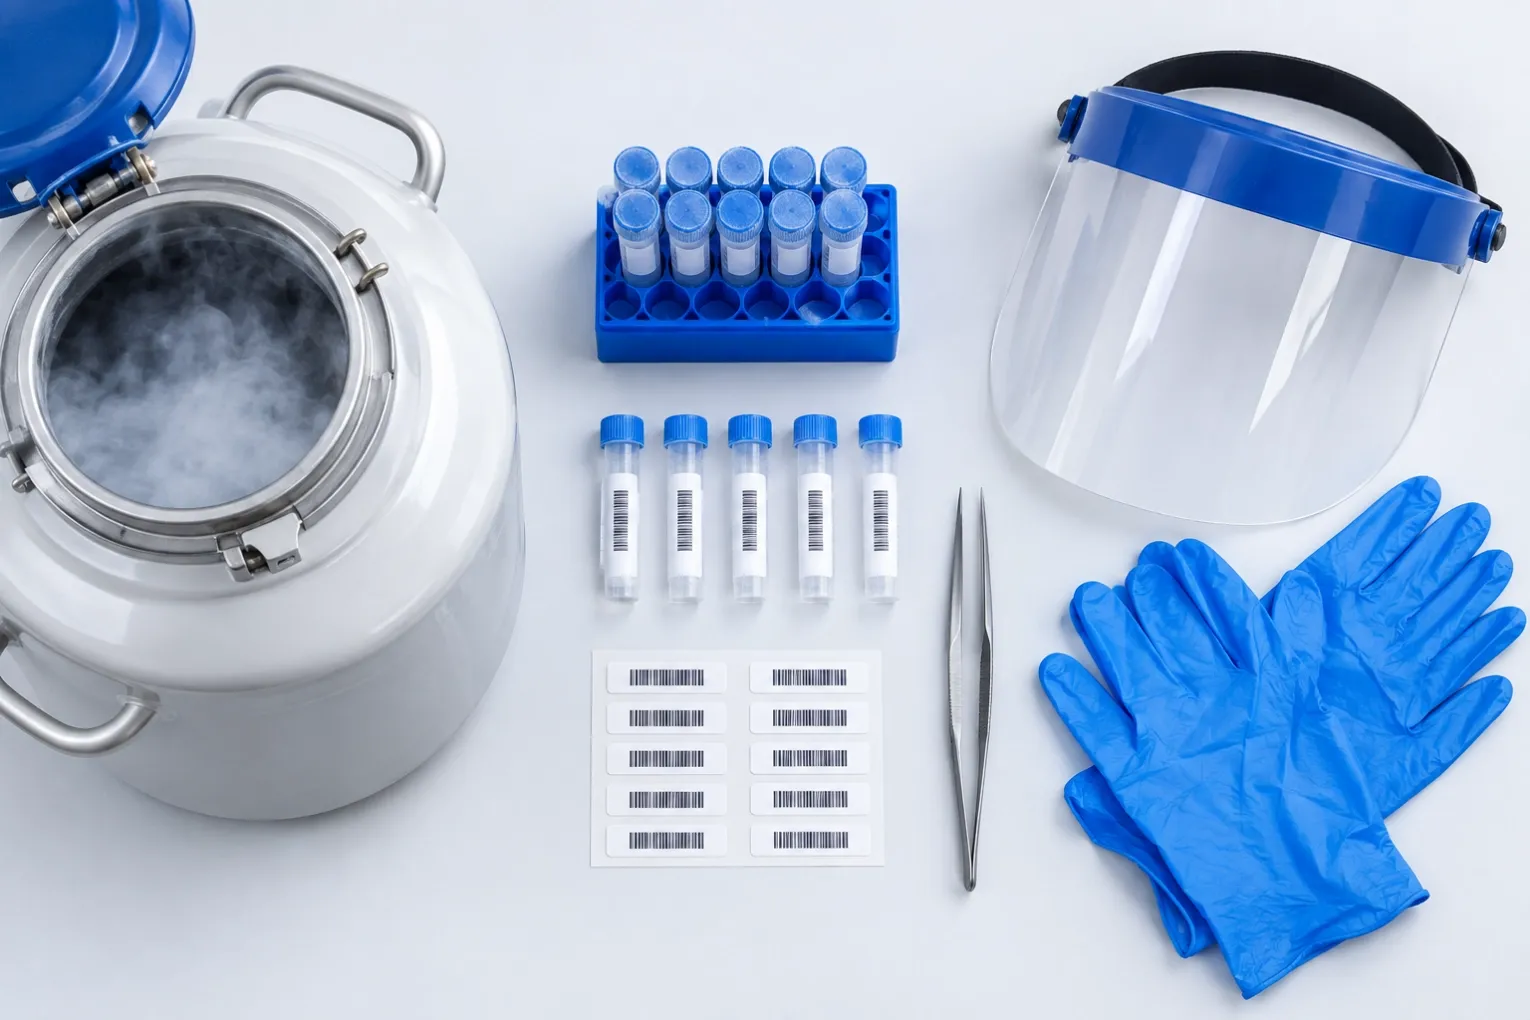
Item | Purpose | Notes |
|---|---|---|
Liquid nitrogen | Test medium | Available in most labs; handle with proper PPE |
Test vials | The actual vials you will use | Must match production vials |
Label samples | The labels being evaluated | At least 10 labels per test condition |
Resin ribbon | For printing labels | Wax/resin will fail – see our |
Thermal transfer printer | For printing test labels | Use production printer settings |
Cryogenic gloves | Safety | Essential for handling LN2 |
Face shield | Safety | Protects against splashes |
Forceps or tweezers | Handling cold vials | Prevents frost from hands |
Camera or phone | Documentation | Record results visually |
Timer | Timing immersion cycles | Accuracy matters |
IPA wipes | Surface cleaning | Removes oils and contaminants |
⚠️ Safety first: Liquid nitrogen is extremely cold and can cause severe burns. Always wear cryogenic gloves and a face shield. Work in a well-ventilated area.
3. Step-by-Step Test Procedure 📋
Step 1: Prepare the Test Vials
- Select at least 10 vials of the same type you use in production
- Clean each vial with an IPA wipe to remove oils, dust, or mold release agents
- Allow vials to dry completely at room temperature
Why this matters: Adhesive cannot bond to a contaminated surface. Skipping this step invalidates the test.
Step 2: Print the Test Labels
- Print labels using your production printer and ribbon
- Use the same darkness and speed settings as production
- Print a barcode, text, and a unique identifier on each label
- Allow the print to cure for the recommended time (usually 24 hours)
Important: Do not use a different ribbon for testing. The ribbon affects both print durability and label performance.
Step 3: Apply the Labels
- Apply labels at room temperature (20–25°C)
- Press firmly for 5 seconds using consistent pressure
- Apply to the same location on each vial for consistency
- Record the application time and conditions
- Allow labels to set for 24 hours before testing
Why 24 hours: Most cryogenic adhesives reach full bond strength after 24 hours. Testing immediately after application gives false failures.
Step 4: Perform the Liquid Nitrogen Immersion Test
- Fill a cryogenic container with liquid nitrogen
- Using forceps, place the labelled vials into the LN2
- Ensure vials are fully submerged – not just in vapour phase
- Start the timer
- Record the immersion time
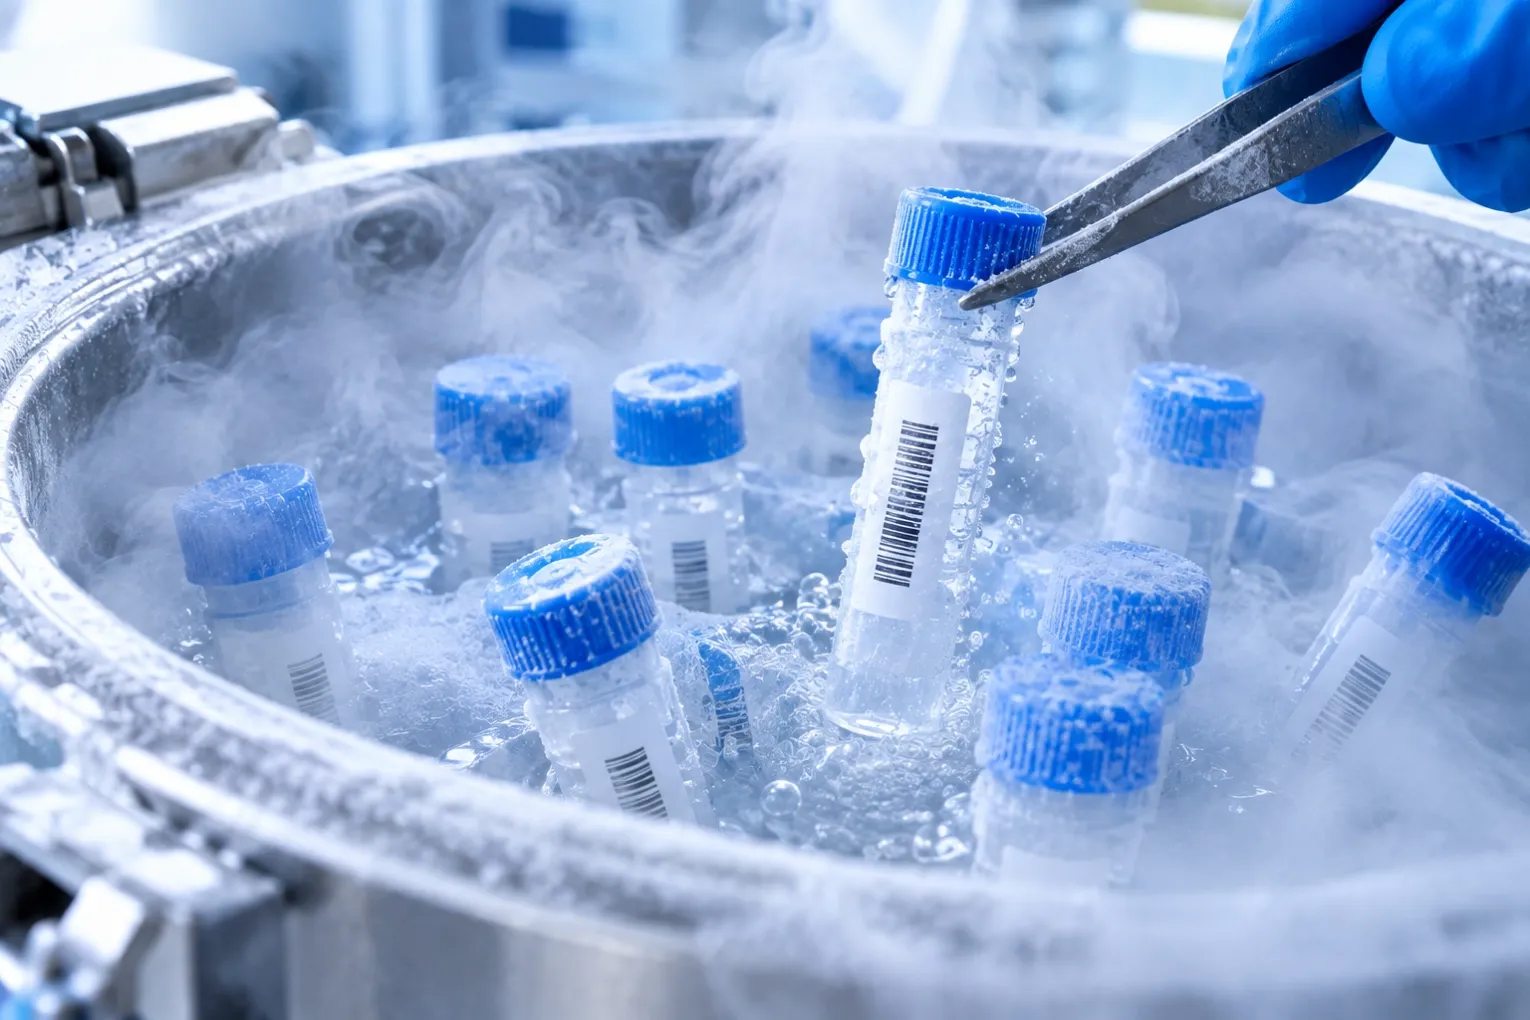
Test durations to consider:
Duration | What It Tests |
|---|---|
1 hour | Basic LN2 resistance |
24 hours | Short-term immersion performance |
7 days | Extended immersion performance |
30 days | Long-term storage simulation |
For most applications, a 24-hour immersion test provides sufficient validation. For critical samples, extend to 7 days.
Step 5: Remove and Thaw
- Remove vials from LN2 using forceps
- Place on a clean, dry surface at room temperature
- Allow to thaw completely (usually 10–15 minutes)
- Do not wipe or disturb the labels during thawing
- Observe any condensation or frost formation
What to watch for: Frost forms on all cold surfaces. The question is whether the label remains adhered after the frost melts.
Step 6: Inspect and Score
After thawing, inspect each label for:
Observation | Score |
|---|---|
Fully adhered, no lifting | Pass (5) |
Minor edge lift (<1mm) | Marginal (3) |
Partial lifting (1–3mm) | Fail (2) |
Complete detachment | Fail (1) |
Cracking or shattering | Fail (1) |
Also inspect:
- Barcode readability – scan each label with your barcode scanner
- Print integrity – check for smearing or fading
- Facestock condition – check for cracking or embrittlement
Step 7: Repeat with Freeze-Thaw Cycles
For a more thorough test, repeat the immersion and thaw cycle 3–5 times with the same vials. This simulates real-world handling where samples are removed and returned to storage.
Record results after each cycle. Adhesion that survives one cycle may fail after three.
4. How to Interpret Your Results 📊
Pass/Fail Criteria
Criteria | Passing Standard |
|---|---|
Adhesion | No lifting after 24-hour immersion |
Barcode | Scannable with ANSI grade B or better |
Print integrity | No smearing or fading |
Facestock | No cracking or embrittlement |
Freeze-thaw | Survives at least 3 cycles |
What Failure Looks Like
Failure Mode | Cause | Solution |
|---|---|---|
Edge lifting | Adhesive too rigid at low temperature | Switch to a lower Tg adhesive |
Complete detachment | Adhesive not rated for -196°C | Use an LN2-rated label |
Cracking facestock | Material becomes brittle at -196°C | Switch to nylon or cryo-grade material |
Smearing print | Wrong ribbon type | Use resin ribbon only |
Barcode unreadable | Insufficient darkness or poor contrast | Increase darkness, verify with scanner |
If your test fails, do not proceed to full deployment. Contact your supplier for a different material or adhesive formulation.
5. Common Testing Mistakes to Avoid ❌
Mistake | Consequence |
|---|---|
Applying labels to frosted vials | Adhesive bonds to ice, not the vial – immediate failure |
Testing immediately after application | Adhesive has not reached full bond strength – false failure |
Using the wrong ribbon | Print fails even if label adheres |
Testing only in vapour phase | Does not simulate direct immersion |
Not cleaning vials before application | Oil or dust prevents proper adhesion |
Testing only one vial | Cannot identify batch variation |
Skipping freeze-thaw cycles | Real-world handling not simulated |
Visual inspection only | Barcode may be unreadable even if label looks fine |
Always test with a minimum of 10 vials and document every step. A single successful test does not prove reliability.
6. Real-World Considerations 🏭
Vial Material Matters
Vial Material | Adhesion Notes |
|---|---|
Polypropylene (PP) | Most common – low surface energy, requires high-tack adhesive |
Polyethylene (PE) | Very low surface energy – difficult to bond |
Glass | Good adhesion for most adhesives |
Polystyrene (PS) | Moderate adhesion – test recommended |
Vial Size Matters
Small vials (0.5ml–2ml) have tight curves. Labels must conform without lifting. Test with your actual vial size – not a substitute.
Storage Method Matters
Storage Method | Test Requirement |
|---|---|
Liquid phase LN2 | Full immersion test required |
Vapour phase LN2 | Vapour exposure test sufficient |
-80°C freezer | Freezer test, not LN2 |
Dry ice shipping | Thermal cycling test |
7. When to Test – A Validation Schedule 📅
Scenario | Testing Frequency |
|---|---|
New label supplier | Full test – every product |
New vial type | Full test – verify compatibility |
New printer or ribbon | Print durability test |
New storage condition | Adjust test parameters |
Routine production | Quarterly spot checks |
After any failure | Full root cause investigation |
Document everything. For regulated environments (GMP, ISO 13485), test records are required for audits.
8. Summary & Next Steps 🎯
Testing label adhesion in liquid nitrogen is a straightforward procedure that prevents costly sample loss.
The key steps are: clean vials thoroughly, apply labels at room temperature, allow 24 hours to set, immerse fully in liquid nitrogen for 24 hours, thaw completely, and inspect for adhesion and print integrity.
Pass criteria include no lifting, scannable barcodes, no cracking, and survival of at least three freeze-thaw cycles.
Common mistakes include applying to frosted vials, testing too soon after application, using the wrong ribbon, and testing only one vial.
Need liquid nitrogen labels that pass adhesion testing? Our Liquid Nitrogen Label (-196°C) uses nylon facestock and a specialised cryogenic adhesive engineered for direct LN2 immersion. Send us your vial type, storage method, and handling procedure – we will recommend the right label and send free samples for your own validation testing.